
It takes longer, but it’s worth it for the sheer satisfaction of gazing upon your work, knowing you damn well made that, with your own two hands. You know: making things. The stuff that writers and artists do.
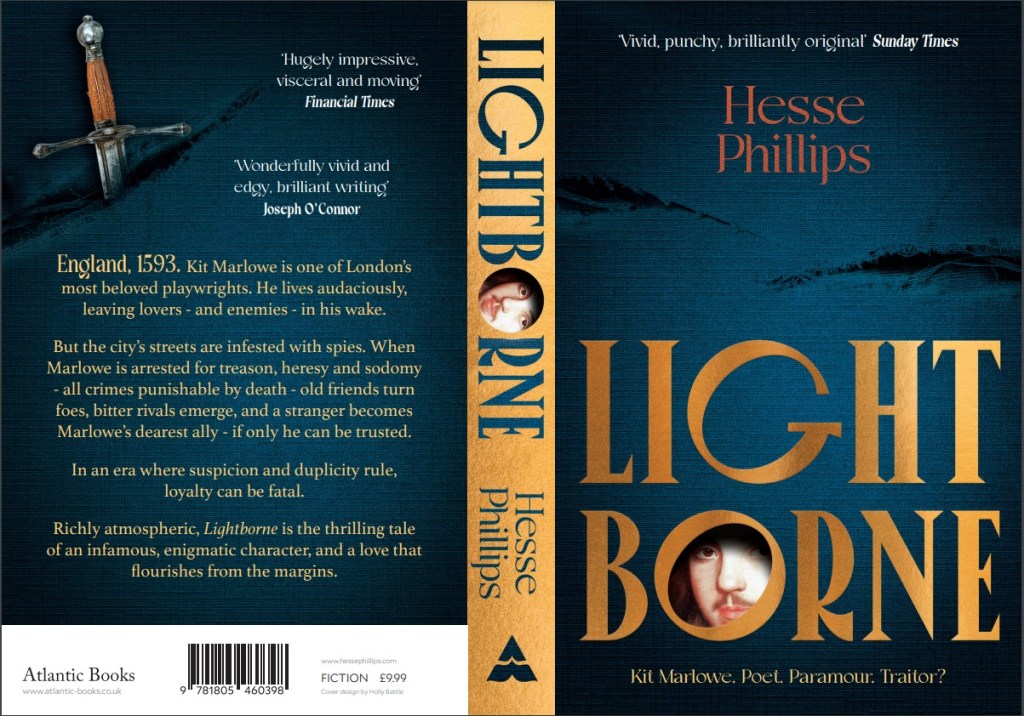
My journey towards a homemade book trailer began a year ago, as soon as I received the cover design for my novel Lightborne‘s paperback edition, which I fell in love with instantly. I could imagine the face of my protagonist, Christopher Marlowe, fading into view through the peephole of the O, the fabric background, firelit, breathing in a draft as something – a knife, perhaps – slashes right through it. Basically, I knew at first sight how I would have liked to have seen the cover animated, book trailer style.
But sadly, an animated book trailer was not in the budget for an itty-bitty D-lister like me, so if I wanted to see that vision come to life, I had to roll up my sleeves and figure it out. Figure it out I did, using freely available video and image editing software, and the old “stop-motion” technique that gave us Wallace & Gromit, Return of the Jedi and Jason and the Argonauts, and dates back to the dawn of animation.1
This is not intended to be a tutorial. But if you, like me, are incredibly stubborn, lightly artsy, and willing to spend a good 8 hours on something you can be proud of, you too can make a book trailer with a wee carbon footprint and no sweatshop labor involved but your own.
Please note: This post is meant to inspire you, but as the title suggests, I did this despite not knowing what the hell I was doing. So no, I probably can’t help you make your own book trailer. Nor can I make it for you. Unless you pay me. A lot.
Read on if you want a breakdown of how I did it, or just scroll to the bottom to see the finished trailer in all its glory.
What I had to work with:
- High-resolution image file of my cover (see above).
- Krita image editing software (open access).
- CapCut video editor (free version).
- Dim memories of Photoshop 6.0.
- That one video editing class I dropped out of in 9th grade.
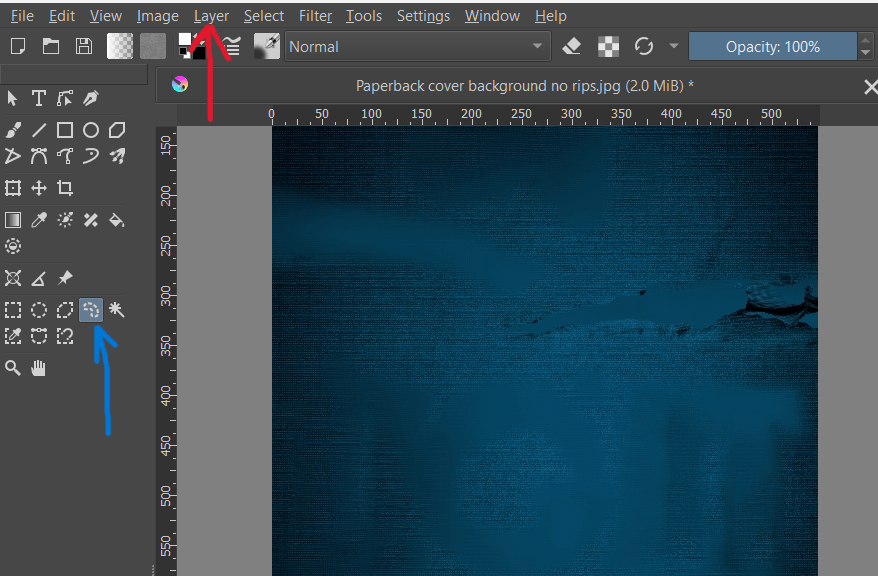
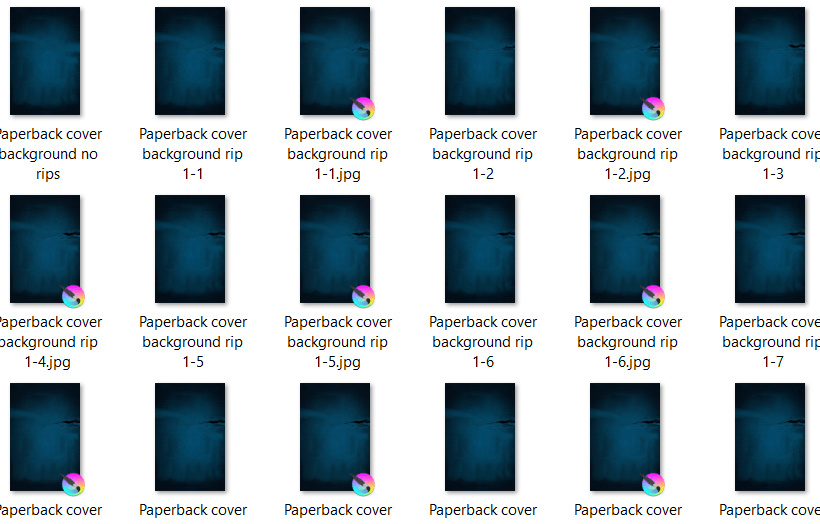
First order of business was to separate the book’s cover design into a series of layers, from background to foreground. I did this by thinking about what elements I wanted to animate, and in what order. I knew I wanted my trailer to begin with the “rips” being torn into the blue fabric, so I needed a completely clean, rip-free version of the fabric background to start with. To make this, I used the Smart Patch tool in Krita.
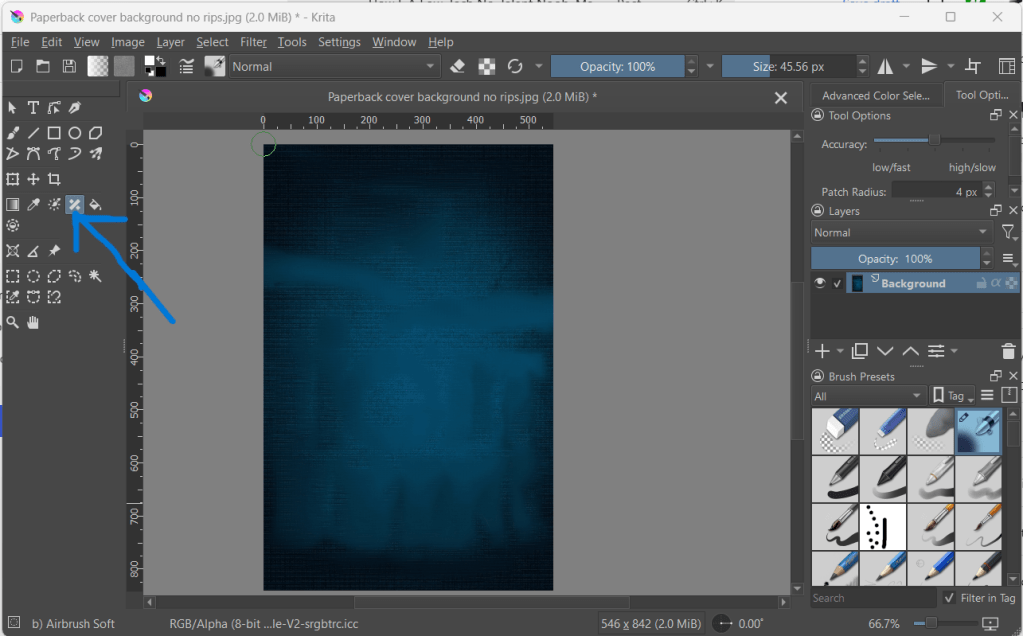
Krita is relatively user friendly if you’re familiar with Photoshop – even Photoshop from 20 years ago. I have my beefs with Krita’s interface, but with a few YouTube tutorials I was able to find my way around. The Smart Patch tool works like Photoshop’s clone or stamp tool. You hover over the part of the image you want to sample, Right-Click+Shift, and then “patch” over the part of the image you want to disappear or blend into the background.
To create an unripped version of the blue fabric, I sampled from “clean” parts of the fabric until I had patched over everything else – title, my name, the rips, etc. And yes, this took a while.
But in the end, I had what I needed – the first “frame” of my animation.
While I was doing this, I also created versions of the cover that preserved the elements I wanted to fade in one at a time in the final trailer, such as the title, the face of Kit Marlowe, my name, the tagline, etc. This also took some time.
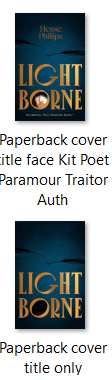
To the left you can see a couple of examples, along with my very helpful, very descriptive file-naming method. The top image was used in the final stages of the animation, because it shows most of the cover’s elements in place.
The bottom image shows a version of the cover with every element Smart Patched out except for the title and the rips in the fabric – because remember, I wanted the rips to appear first, followed by the title, followed by the face.
But I didn’t just want the rips in the fabric to gently fade in – I wanted the fabric to be torn apart right before our eyes. To achieve that, according to the stop-motion animation method, I needed a series of images that showed the fabric ripping, little by little. I had frame 1 of my animation ready. Now I needed about 30 more.
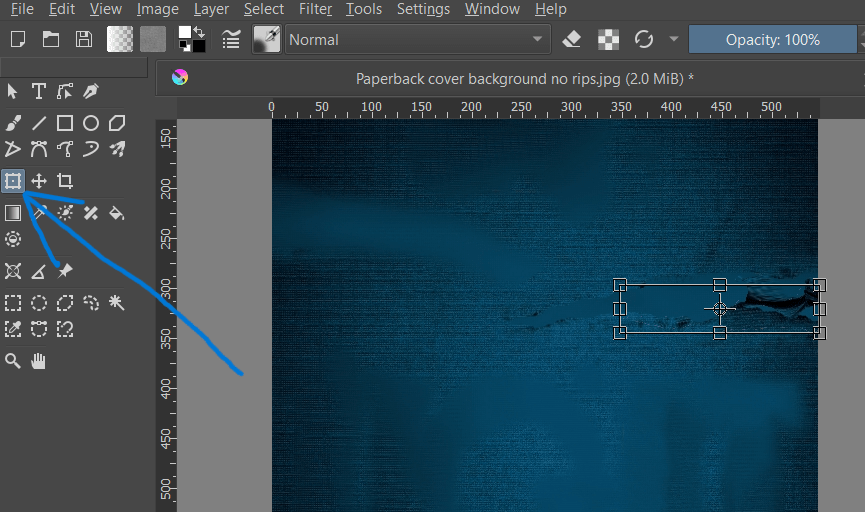
With the unripped blue fabric image open in Krita, I imported a copy of the original, high-res cover image as a Layer. Then, I cropped the image down to just the part I needed: the rip on the righthand side. Because I imported it as a Layer, what I was left with was a clipping which I could move around and manipulate as I desired, without disturbing the background.
Next, I used the Freehand Selection Tool to draw an outline around the rip. The rip’s edges being messy, it didn’t need to be perfect. Once I had a dotted outline around the rip, it was time to start manipulating it. For that, I used the Transform tool, which turned my original selection into a box. So, I dunno, maybe any selection tool would have worked, not just the freehand one. Like I said, I didn’t actually know what I was doing.
ANYWAY: next, I selected Warp from the tool menu on the righthand side of the screen.
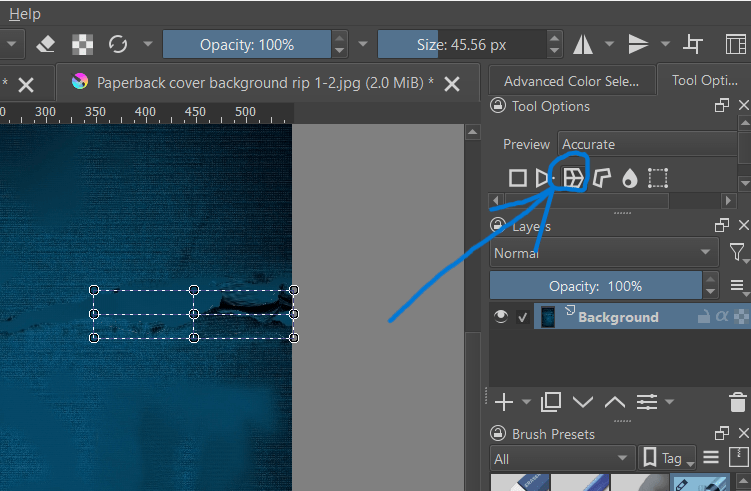
This allowed me to pull and stretch – warp – the selected part of the image using the points on the box. Because the first frame of my animation was the unripped fabric, the next frame had to show just the very beginnings of a rip. And the next frame, a little more. And the next frame, a little more.
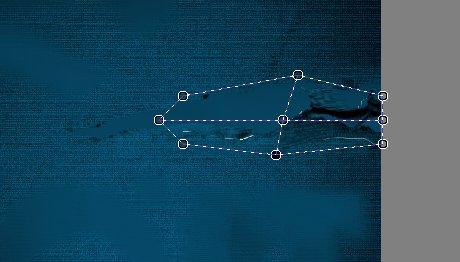
From that one Krita project, just by clicking “Save As” over and over, I was able to make the rip “happen,” frame by frame – just as God and Ray Harryhausen intended. Once that was done, I repeated the same steps for the left rip. All told, it took 25 frames for the right rip to complete, and 12 for the left.
All the work I did in Krita was, by far, the most time-consuming part of the process. But now that was all in the bag. It was time to move on to CapCut.2
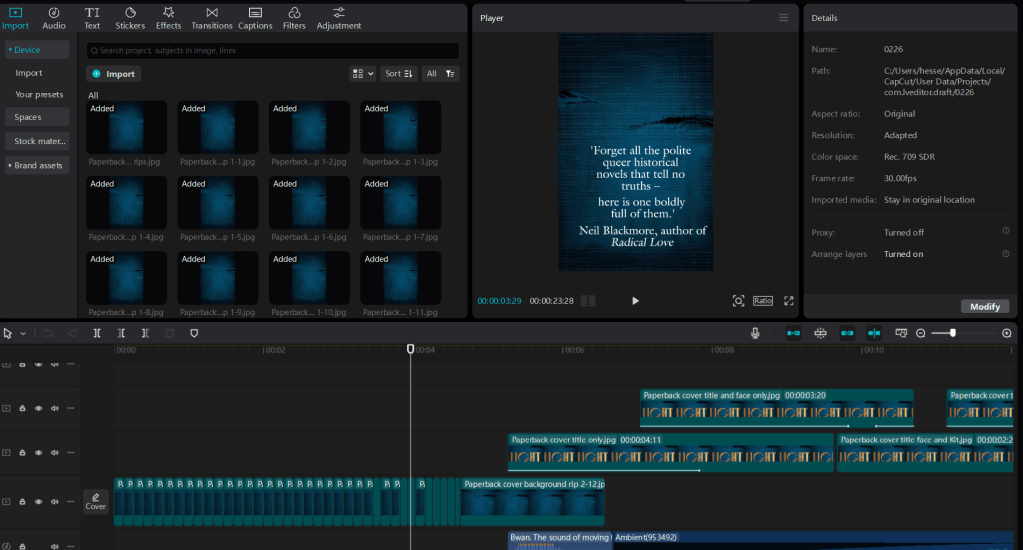
CapCut looks complicated, but it’s a drag-and-drop platform, so even a luddite like me can use it. (And it’s certainly not the only platform out there either!) In the top left corner, you import whatever image or video files you intend to use in your project. Right of that is the preview box, so you can see what your video looks like as you work. Across the bottom of the screen is your actual workspace, where you can drag and drop in your images frame by frame and layer by layer.
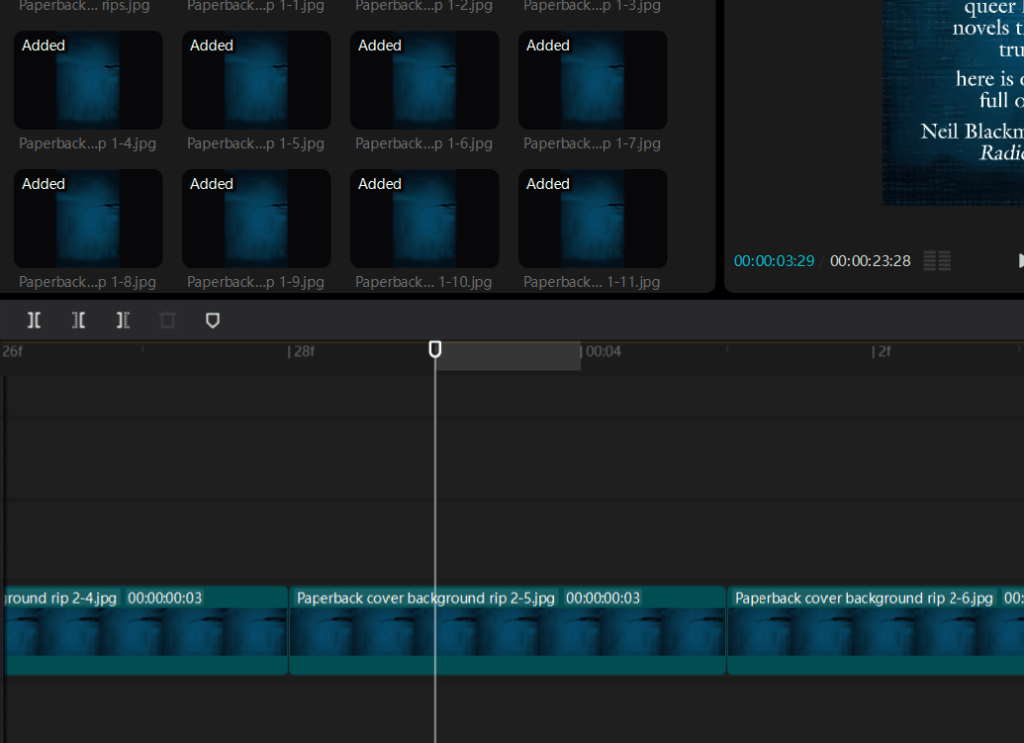
I started by importing all the many, many “rip” animation frames I had created, in the proper sequence. Then it was just a matter of adding them to a playback track, or layer, which is done with a click. The transformation from static frames to animation was instantaneous. A bit of tweaking with the playback speed, and my blue fabric ripped – not perfect, but this isn’t about smooth, shiny perfection. We want “handcrafted with love.”
Now, I had to make the other elements of my cover fade in, one by one. Remember, I had already created numerous versions of my cover, each with different elements Smart Patched out. Now it was time to use them.
To make the title fade into view, I imported the image of the cover with all elements removed except the rips and the title text. Importantly, I added this to a playback layer separate from the ripped fabric layer, and dragged it to pick up at about the same point where the rip sequence ended, leaving a little overlap, but not too much.
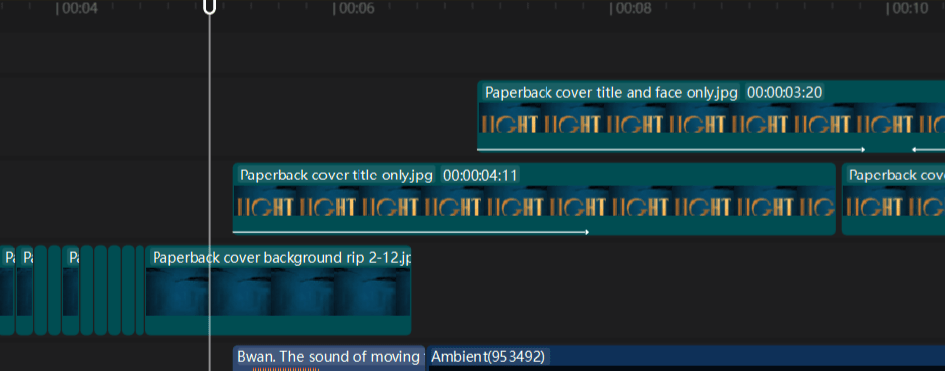
I then used CapCut’s library of free effects to make the title text fade into view by applying the Fade-in effect to the title layer. Because I only overlapped the two playback layers slightly, this created a “firelight” effect all its own, as the rip sequence layer faded to black and the title layer faded in. Which was a nice surprise.
Using another image file that preserved the rips, title, and face, I repeated these steps to make the face of Kit Marlowe fade into view inside the O in Lightborne. Looked pretty cool, if I do say so.

As you can see from the image above, it took three playback layers to get to this point, but it was really just a matter of moving them around and playing with the Fade filters until they did what I wanted. Rinse and repeat with the other image files I had created in Krita, letting each element fade in one by one, and soon I had a pretty nice looking book trailer. But it still needed a little pizazz.
To add additional text and audio, I used CapCut’s built-in library of fonts, sound effects, and rights-free music. I went through at least 15 different versions of the sound of fabric ripping before I found the right one. Fire crackling – that was easy. And although the perfect music took much longer to find – a bit creepy, very atmospheric, not too modern – once I knew I had it, the whole room lit up.3
At long last, I could hit “play” on my very own, homemade book trailer – a fair approximation of the vision that had sent me careening down this rabbit hole in the first place.
“Wow, Hesse, that seems like a lot of work for a 30-second video. Was it worth it?”
Depends on how you measure worth, I suppose. I doubt the trailer sold too many books, if any. It sure as hell didn’t go viral or even get tons of “likes” on the socials. But I didn’t make my book trailer hoping it would go viral. I made my book trailer to celebrate all the hard work I’d already put in, and to showcase what I still think is a beautiful, evocative cover design. It was hard work, but it was also a lot of fun.
I’m sure some people think I’m nuts for going to all this trouble when I could have achieved something similar, and flashier, just by plugging a prompt into a chat-box. And I’m sure some people think the finished product looks like crap and I should have spent my precious time doing something else. But, you know – I just don’t care. I made something; I learned something; I learned that I could do something I didn’t know I could. That’s its own reward.
I already spent years writing a book, after all. What’s 8 hours compared to that?
- Okay technically I was using what’s known as the traditional animation technique because it relied on 2D images, but I got the idea while thinking about Phil Tippett and how fucking awesome he is, so let’s just call it stop-motion in honor of him. ↩︎
- CapCut has, since the making of my trailer, loaded itself up with “AI powered” features. However, like most platforms that claim to be loaded-up with “AI powered” features, you can still use the thing without touching them. They’re just there in the corner of the screen, begging for your attention like Clippy of MS Word yore. ↩︎
- This was done before AI-generated music basically wiped-out what I imagine must have been a thriving cottage industry of rights-free music composers (so, like, a year ago). If you want human-made music to underscore your trailer, you might have to dig a bit deeper in CapCut’s library nowadays. But again – it’s worth the effort. ↩︎
